Welcome to Nalaa Organic!
Delivery available only on Tuesday, Wednesday, Friday and Saturday | Free delivery for the orders above ₹ 375
Welcome to Nalaa Organic!
Delivery available only on Tuesday, Wednesday, Friday and Saturday | Free delivery for the orders above ₹ 375
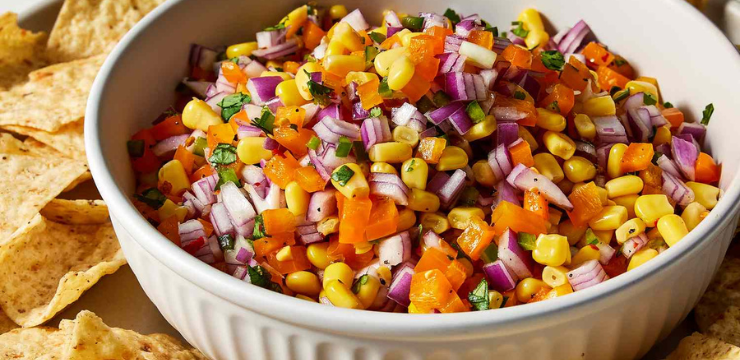
Looking for a vibrant and zesty addition to your next gathering or Taco Tuesday? Try this easy-to-make corn salsa bursting with color and flavor!
First, cook the corn if you are using fresh corn.
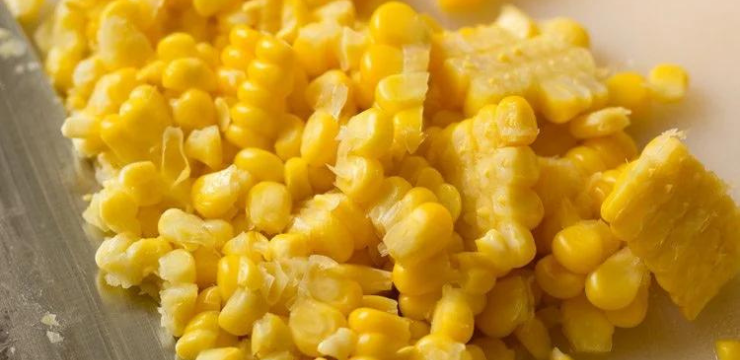
Allow the cooked corn to cool completely. Then, use a knife to carefully slice the kernels off of the corn cob. You want to wind up with at least 1 cup of corn for this salsa recipe.

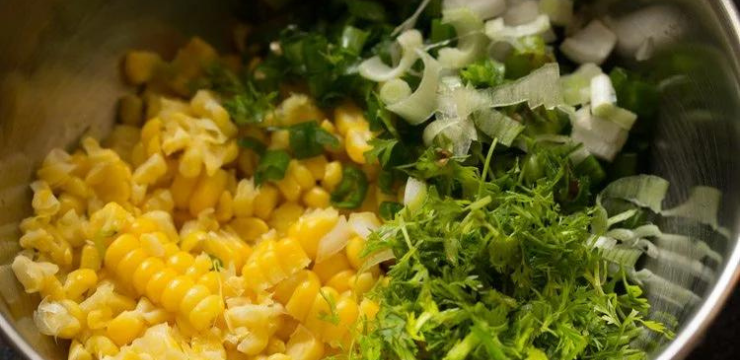
Place the corn kernels in a medium bowl, and add ¼ cup of finely chopped green onions, 1 teaspoon of chopped green chili or jalapeño or serrano pepper, and 2 tablespoons of chopped coriander (cilantro) leaves.
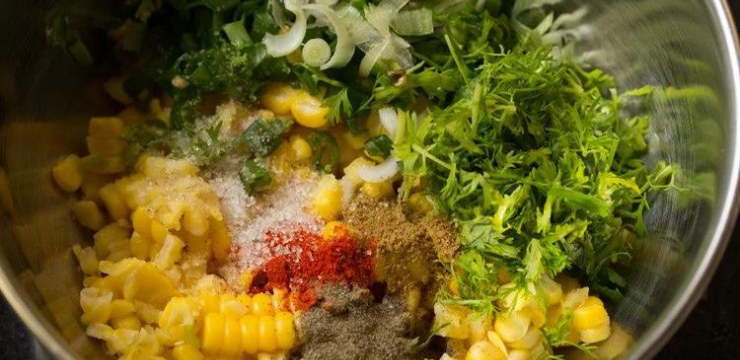
Next add the spices: ¼ teaspoon of cumin powder, ¼ teaspoon of red chili powder, ¼ teaspoon of black pepper powder and salt to taste. Again, you can add more chili powder and also include a dash of cayenne and/or diced jalapeno for extra heat if you like
Lastly, squeeze in some fresh lemon juice. The acid from the lemon adds a terrific bit of sour flavor that really brings all of the ingredients in this corn salsa together.
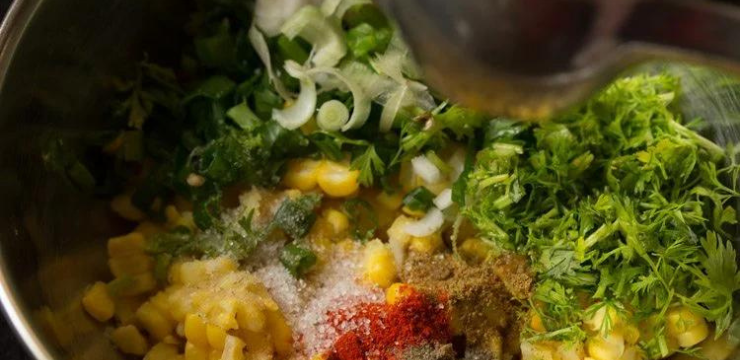
Mix very well to thoroughly combine.
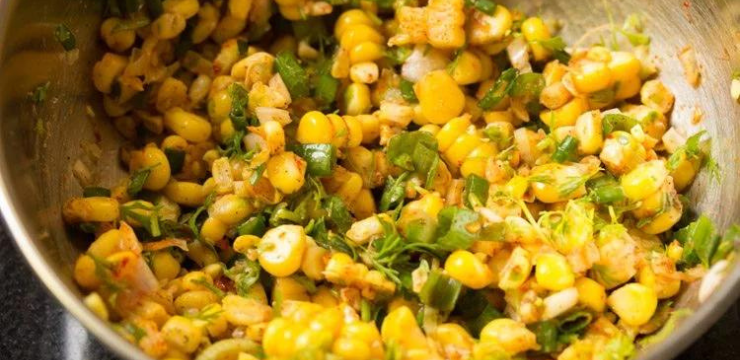
Serve corn salsa as a chunky dip with tortilla chips or crackers, or even fresh veggies that are thick enough for scooping – like slices of bell pepper. Enjoy freshly made salsa with some of your favorite dishes like nachos, Quesadillas, Vegetarian Tacos, and Refried Beans.
Variations
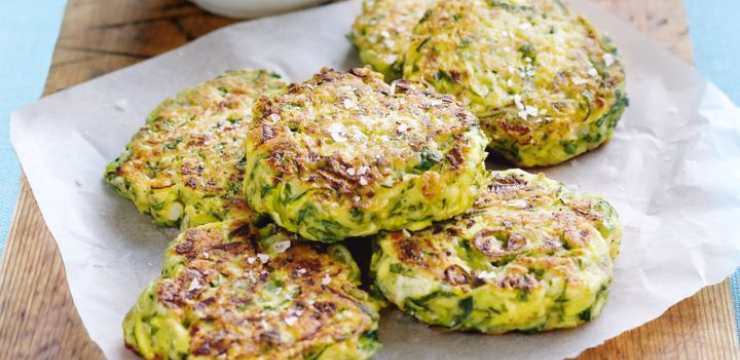
Elevate your appetizer game with these irresistible zucchini fritters! Golden brown and crispy on the outside, soft and flavorful on the inside, these fritters are a delightful way to enjoy seasonal zucchini.
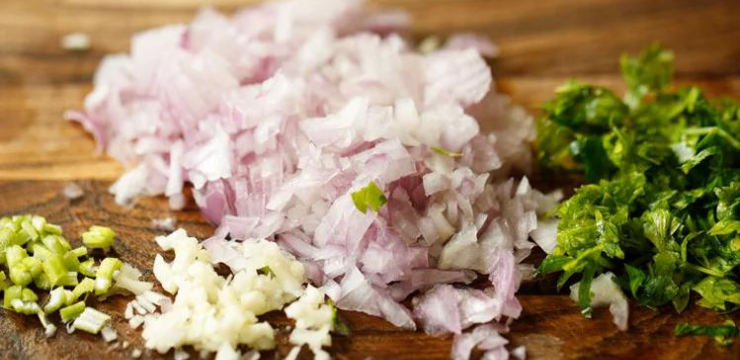
Finely chop 1 medium-sized onion, 2 to 3 inches small celery stalk, 2 to 3 medium garlic cloves, and a few parsley leaves.
You will need ⅓ cup finely chopped onions, ½ teaspoon finely chopped garlic, 2 teaspoons finely chopped celery, and 2 tablespoons chopped parsley leaves.
Rinse 2 medium-sized zucchinis (300 grams) and then pat dry with a kitchen towel. Grate them using a handheld grater, box grater, or food processor.
Do not grate them too finely. Use the larger holes on whichever grater you choose. You can peel the zucchini if you want to, but you don’t have to.
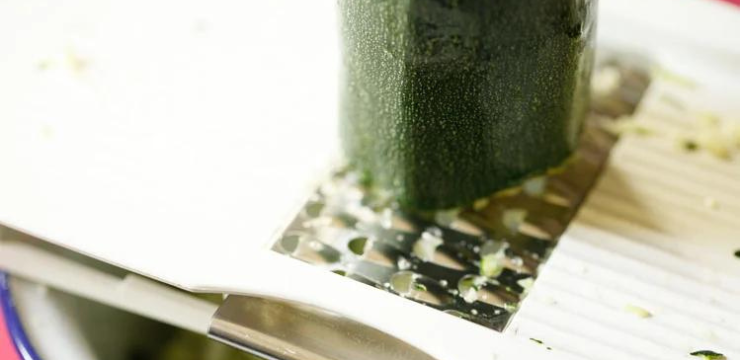
Put the grated zucchini in a mixing bowl. I directly grate the zucchini into a mixing bowl to cut back on the dishes.
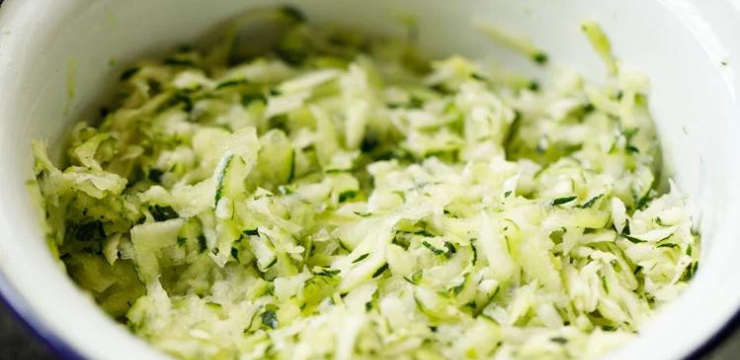
Add the finely chopped onions, garlic and celery.
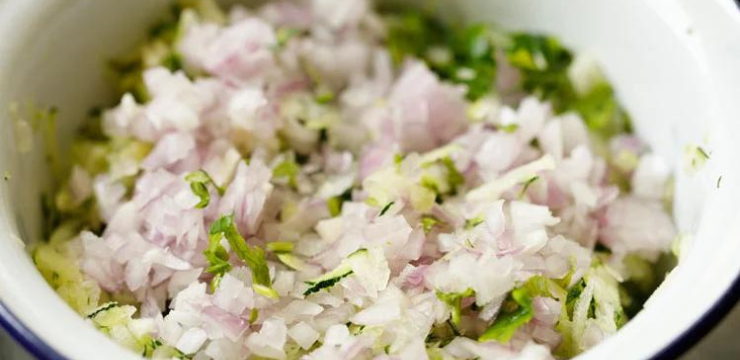
Add ½ heaped cup whole wheat flour and ¼ cup chickpea flour or gram flour.
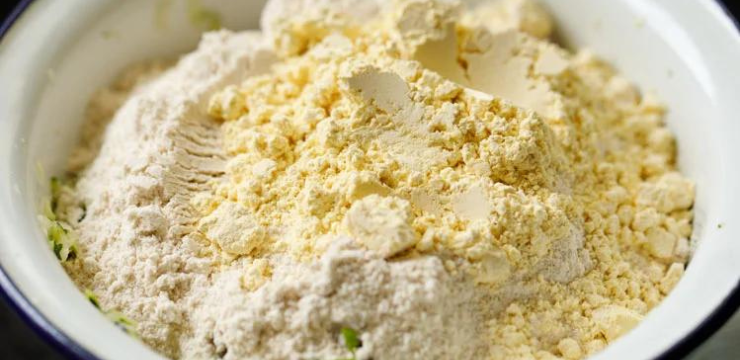
Season with ¼ to ½ teaspoon black pepper (crushed), ⅛ teaspoon black salt (optional), ½ teaspoon salt, or add it as required.Also, add ½ teaspoon baking powder.
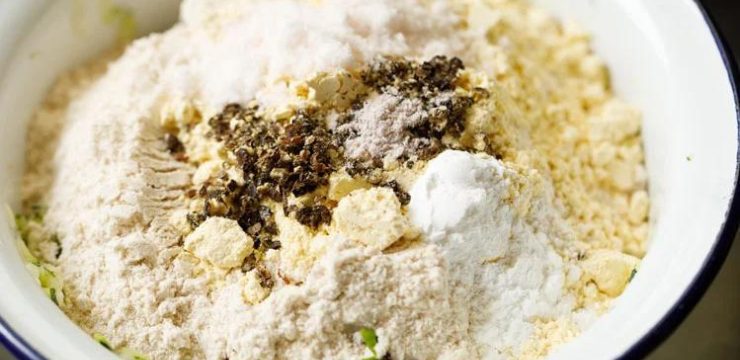
Mix very well. Depending on the water content in the zucchini which will vary with the variety and farming methods used, the batter can become too thick or thin. If the batter is very thick and floury, then sprinkle it with some water. If the batter becomes thin and runny, then add some wheat flour.
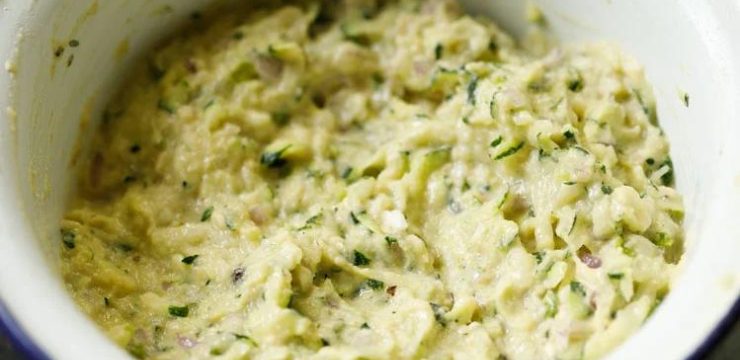
In a 10 to 10.5 inches seasoned, heavy cast-iron skillet or pan, add 2 tablespoons olive oil. For frying each batch of 3 fritters add 2 to 3 tablespoons of oil.Let the oil become hot. Using a serving spoon or ¼ cup measuring cup begin to pour the batter on the pan.
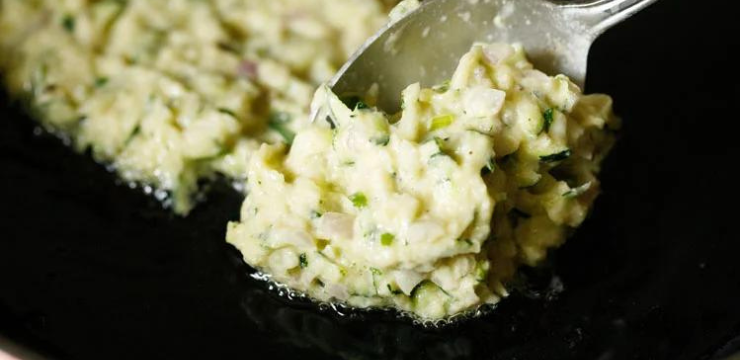
Gently place the batter on the pan.
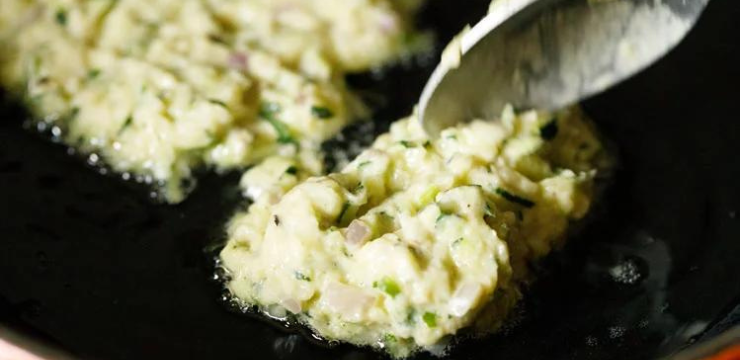
Then with the back of the spoon or cup, spread lightly. Do not spread thin as then the fritters break.
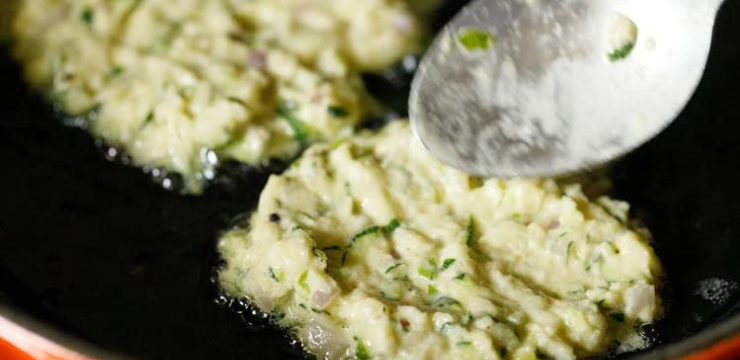
Begin to fry on medium-low to medium heat. I usually fry on medium-low heat so that the insides are cooked well.The cast iron skillet retains heat and this helps in crisping the fritters.
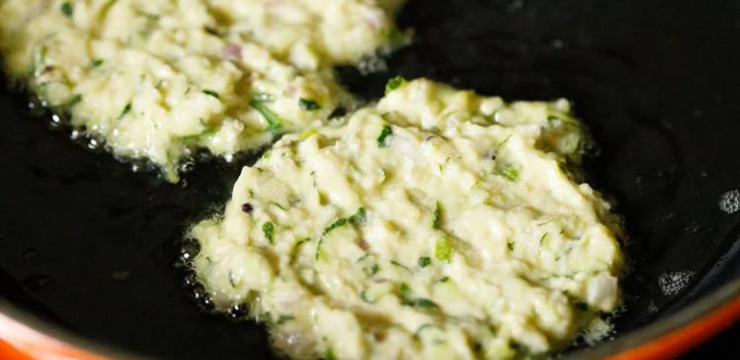
Depending on the size of the skillet, you can fry three to four or even more zucchini fritters at a time.
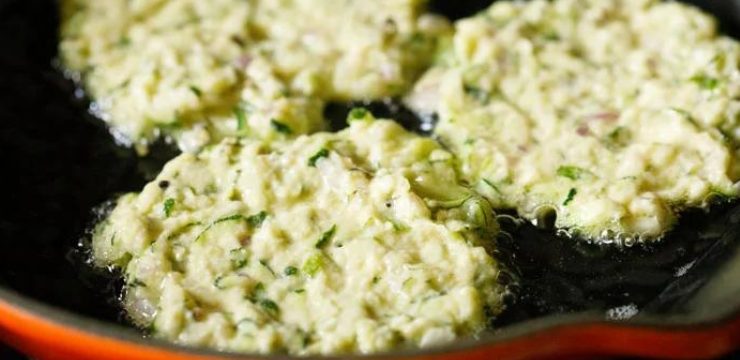
When one side is crisp and golden, gently remove and flip. Fry the second side.
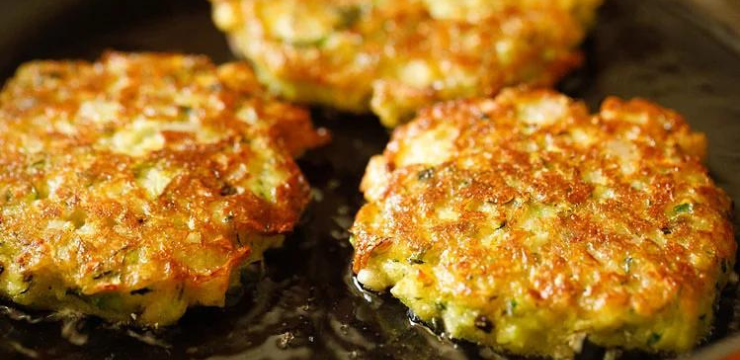
Fry the second side till golden and crisp. For even frying you can flip once or twice.

Remove and place them on kitchen paper towels for a brief period just for the extra oil to be soaked up. Do not keep them for long as then they can stick to the paper towel.You can even use a strainer with a bowl underneath to drain the oil. Make all zucchini fritters this way.

Serve Zucchini Fritters with a dipping sauce of your choice. You can even serve it with sour cream, yogurt, ketchup or creme fraiche.

Looking to add a burst of flavor to your dinner table? Try this delicious Bhindi Masala recipe! With its aromatic spices and tender okra, it's sure to become a family favorite.
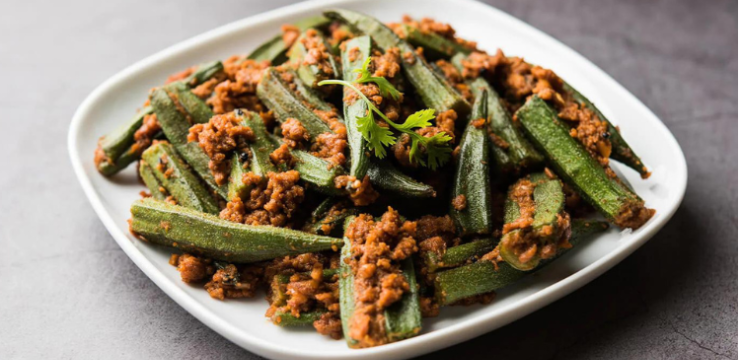
Rinse 250 grams bhindi (okra) well in water using a colander or strainer. Spread them on a tray or plate and let them dry on their own under the fan.You can even wipe dry each okra pod with a clean kitchen towel.
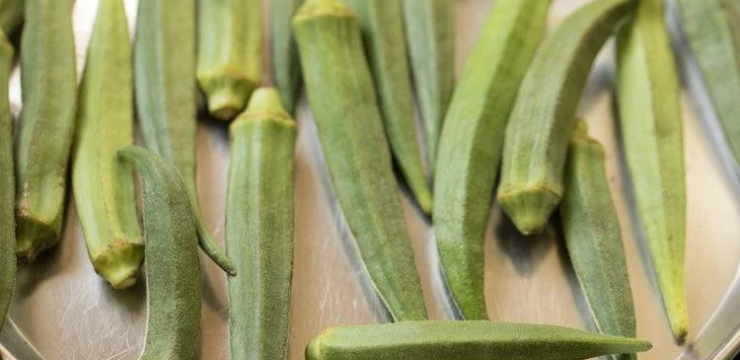
When they are completely dry, chop each bhindi in 1 or 2 inch pieces. Before chopping, make sure there is not even a single drop of water or any moisture on the okra pods.
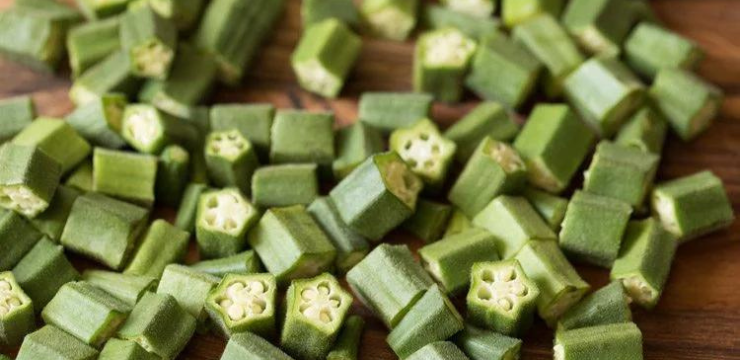
In a heavy kadai, pan or skillet, heat 2 tablespoons oil and add the chopped okra. You can use any neutral-tasting oil. I mostly use sunflower oil or peanut oil.
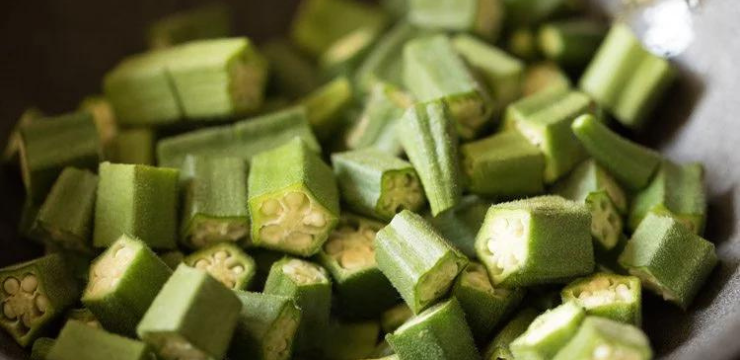
Mix chopped bhindi well with the oil.
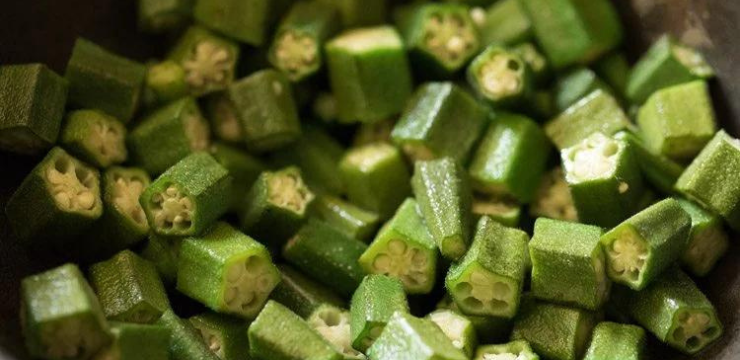
Now, sauté bhindi, stirring often, on low to medium-low heat.
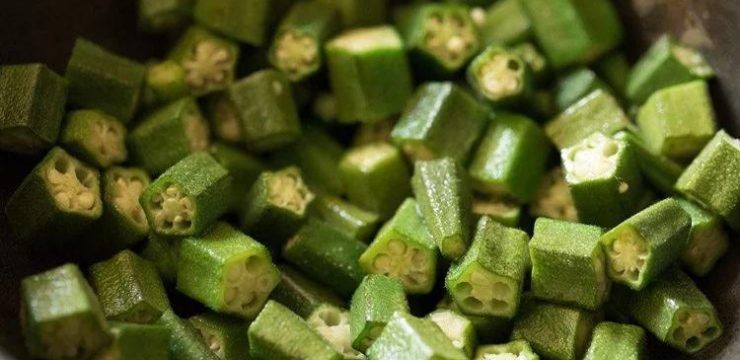
Sauté bhindi until tender and cooked. You should see a few blisters or golden spots on the okra. Remove the sautéed okra and keep aside. Taste the sautéed okra. The crunchiness should not be there. Instead, you should taste a nicely softened bhindi. This means that it is well cooked. Frying or sautéing okra in oil minimizes the sliminess and stickiness in this recipe.
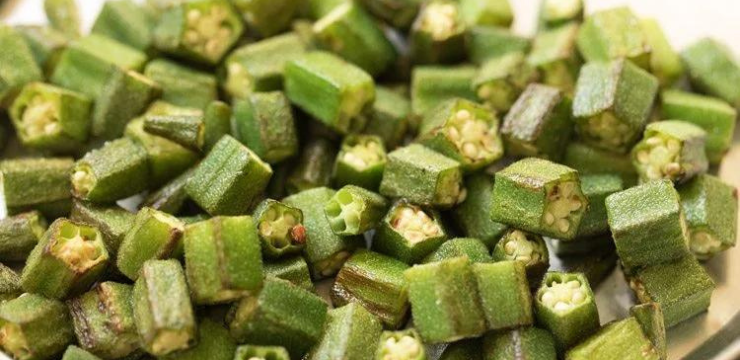
Remove the cooked bhindi in a plate and keep aside. Also chop onions, tomatoes, green chilies and keep aside. Crush ginger and garlic in mortar-pestle to get ginger-garlic paste.

In the same kadai or pan, heat 1 tablespoon oil. Add 1 medium-sized chopped onion (⅓ cup chopped onions). Note: For a richer taste, you can swap oil with ghee (clarified butter).
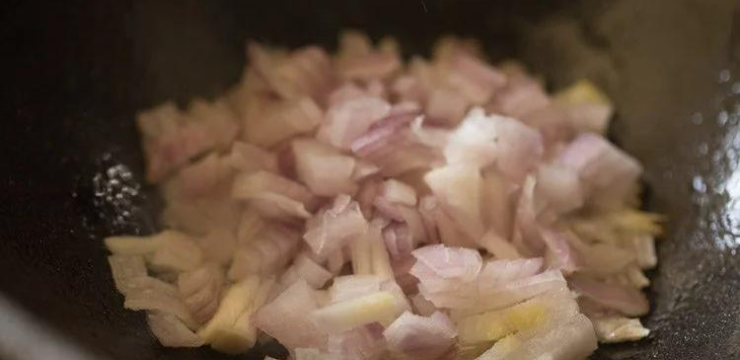
Mix and begin to sauté the onions on low to medium heat.
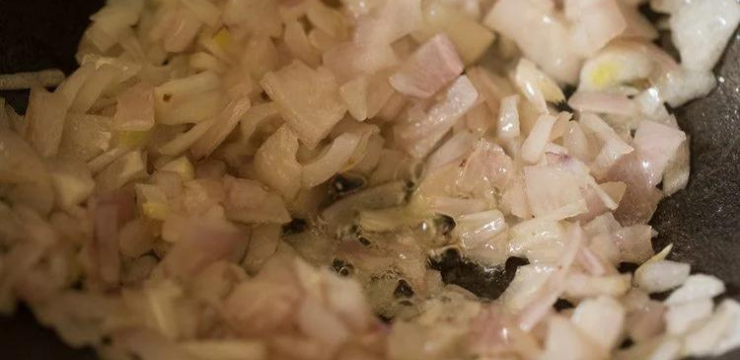
Sauté onions, stirring often, until translucent. The onions should be softened.
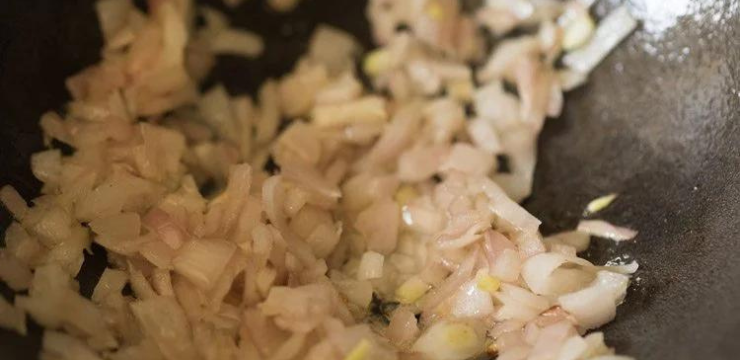
Then, add 1 teaspoon ginger-garlic paste and chopped green chilies.
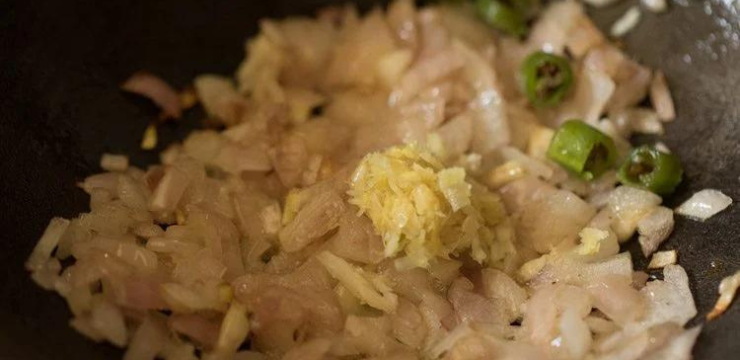
Stir and sauté on low heat until the raw aroma of ginger-garlic goes away. This takes about a few seconds.
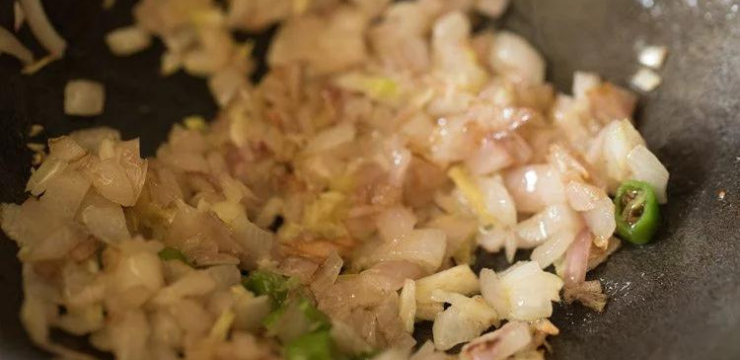
Next, add 2 medium sized chopped tomatoes (1 cup chopped tomatoes).
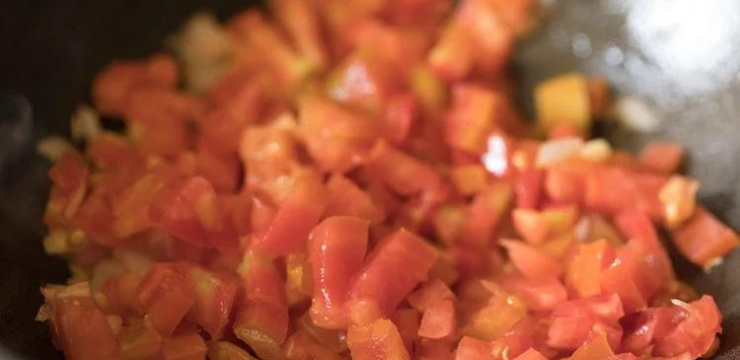
Mix well and begin to sauté tomatoes on low to medium-low heat. If the tomato mixture becomes too dry and starts sticking to the pan, add a few splashes of water – about 3 to 4 tablespoons water. Mix well and continue to sauté, stirring often.
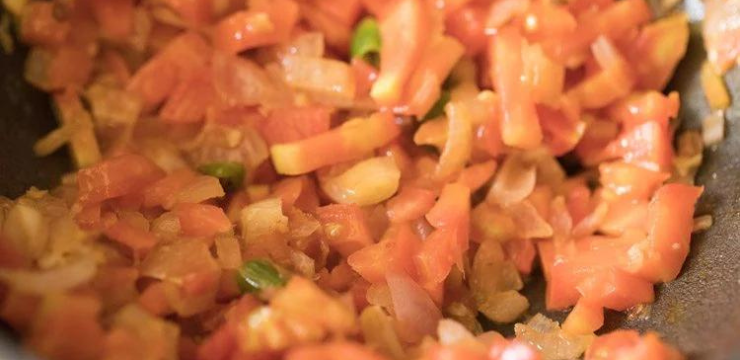
Sauté tomatoes till soft and mushy.
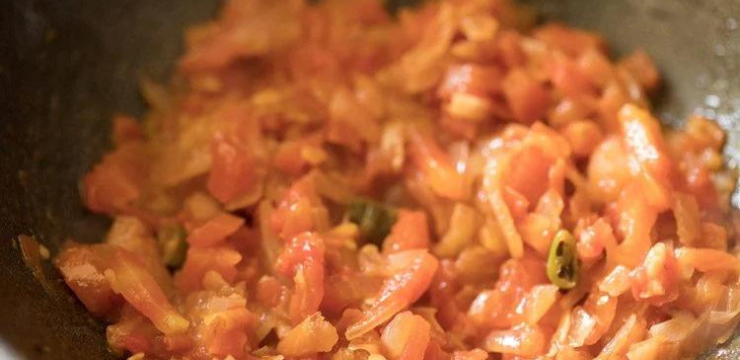
Now, add all of the ground spices listed below:
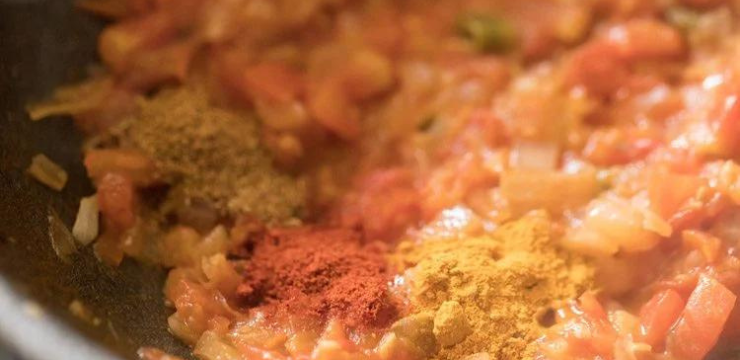
Next, add the following ground spices:
If you do not have dried mango powder, add ½ teaspoon dried pomegranate seeds powder (anardana powder). You can add lemon juice, but I suggest to squeeze fresh lemon juice on top of the Bhindi Masala while eating it. Adding lemon juice directly to the dish can make it very tangy.
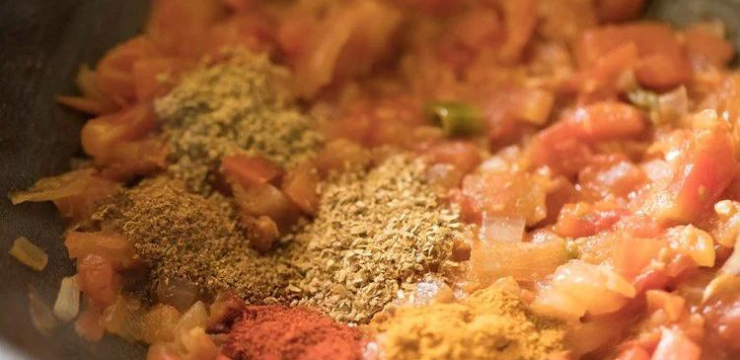
Mix the ground spices very well and sauté for a couple of seconds.
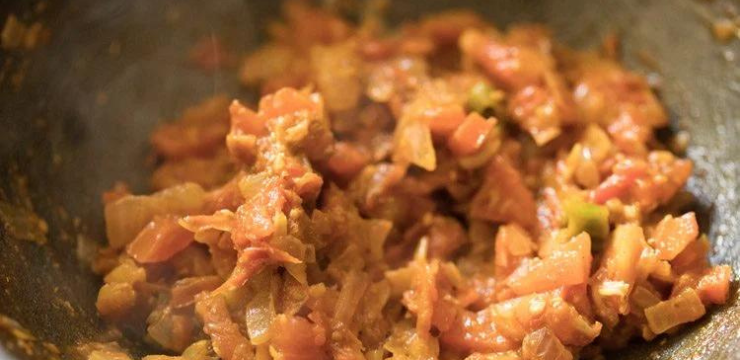
Add the sautéed bhindi.
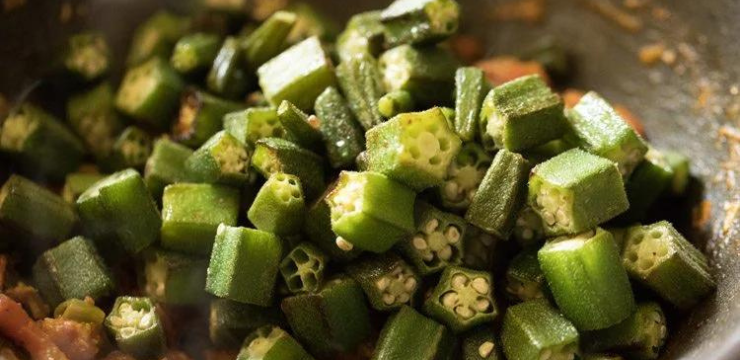
Season with salt as per taste.
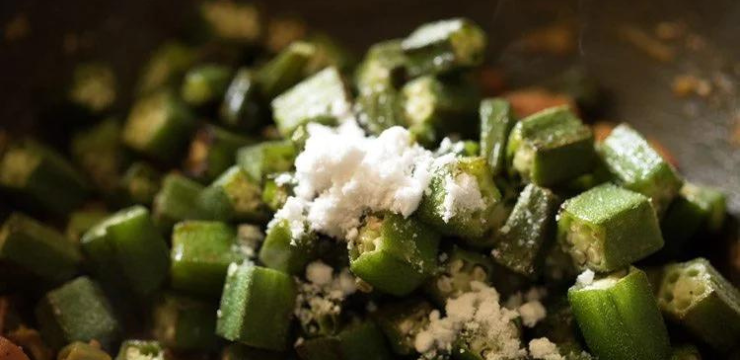
Mix well.
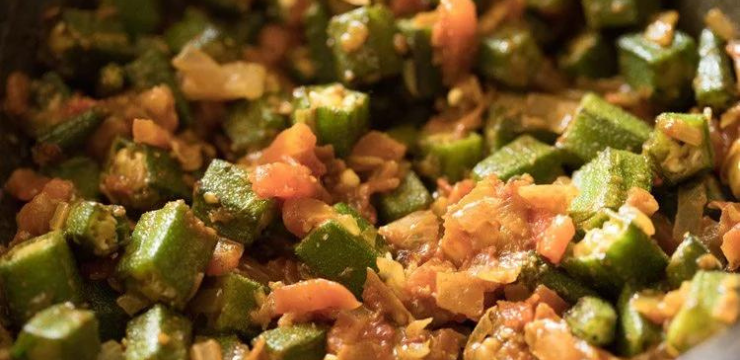
Now, add ½ teaspoon crushed dried fenugreek leaves (kasuri methi). If you do not have dried fenugreek leaves, then skip it.
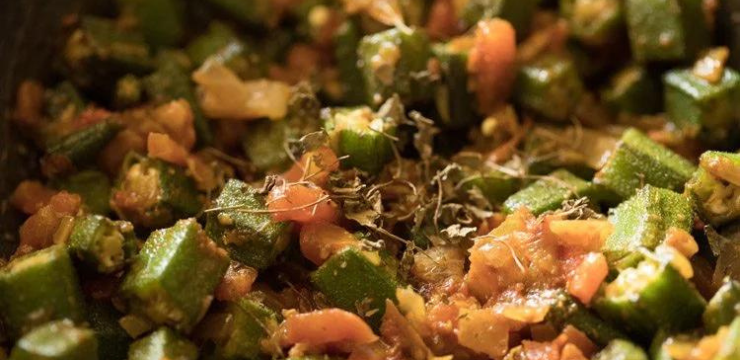
Stir the mixture well. Cook for about 2 minutes, stirring in between. Check the taste of Bhindi Masala and add more of the ground spice powders and salt, if required.
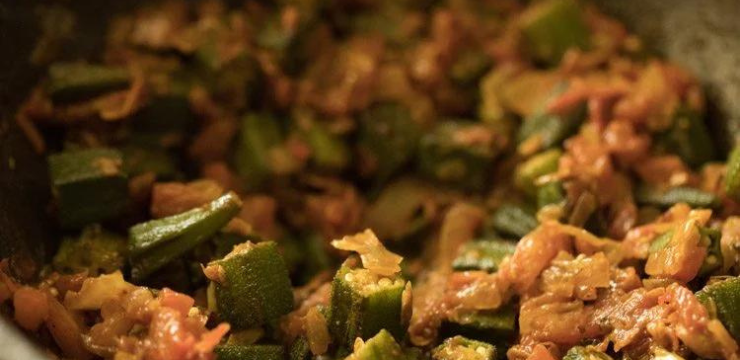
Lastly, add 2 tablespoons chopped coriander leaves. Mix again. You can also add 1 tablespoon chopped mint leaves, if you do not have coriander leaves.
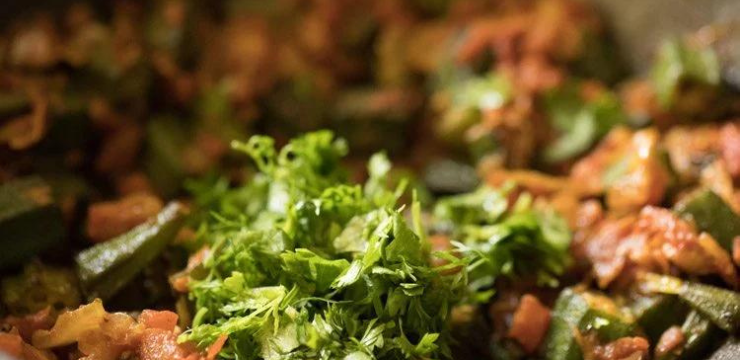
Serve Bhindi Masala hot or warm.
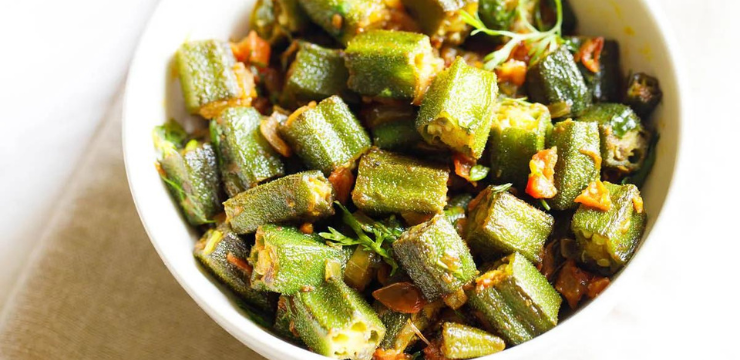
Like all other dry okra recipes, you can savor this Bhindi Masala too with some soft phulka, roti, or chapati. You can also enjoy it with naan, paratha or rumali roti. A side of cucumber raita or veg raita also pairs really well with these combinations.
Make the Bhindi Masala Recipe and also try it as a side dish with some dal-rice or any rice-curry combination. You can also serve it as a side with any North Indian meal.
It can also be packed in the tiffin or lunch box with roti or paratha.
Looking for a tasty way to incorporate cauliflower into your meals? Try this irresistible Gobi Masala recipe! Bursting with flavor and spice, it's sure to become a favorite in your household.
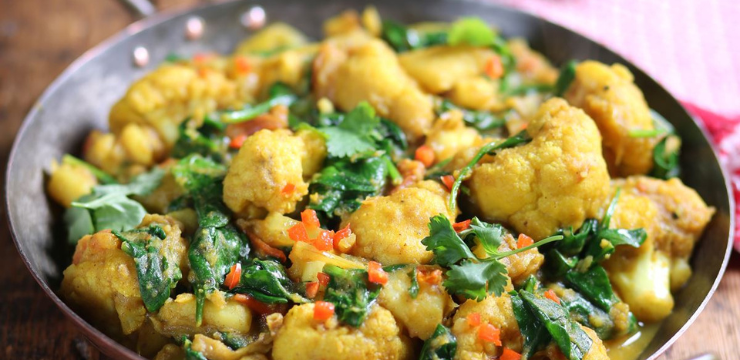
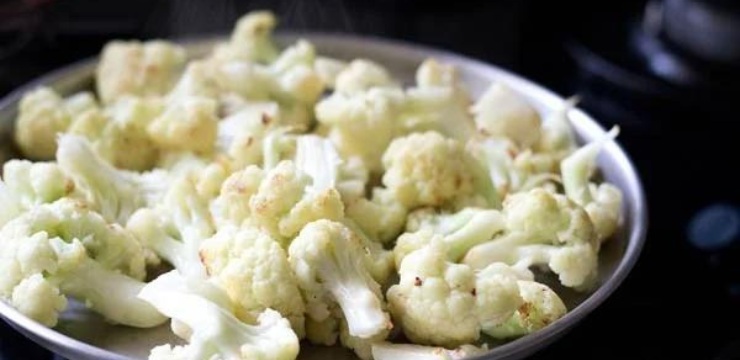
Chop 1 medium size cauliflower (gobi) into medium florets. Rinse well and keep aside. Heat 3 cups water with salt till it starts boiling.
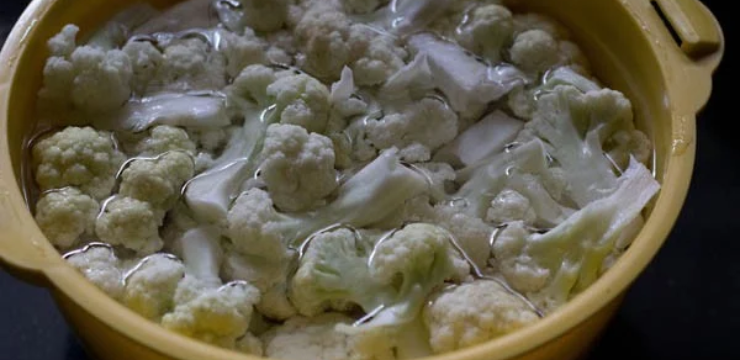
Switch off the heat and add the florets to the hot water. Cover and keep aside for 15 to 20 minutes.
In the meantime, chop 1 medium size onion and crush the ginger-garlic (3 to 4 garlic cloves and ½ inch ginger).
Also, grind the tomato and cashews (2 medium size tomatoes and 1 tablespoon whole cashews) to a smooth and fine paste on high speed in a blender with very little water.
If there is too much water, then the mixture starts spluttering when sautéing it. Keep aside.

Drain the cauliflower florets and gently wipe them dry. Heat 3 tablespoons oil in a kadai or wok. You can use any neutral-flavored oil.
Add the blanched cauliflower florets to the hot oil and sauté on low to medium heat till they start getting light brown spots on them. Approximately 8 to 10 minutes on low to medium heat.
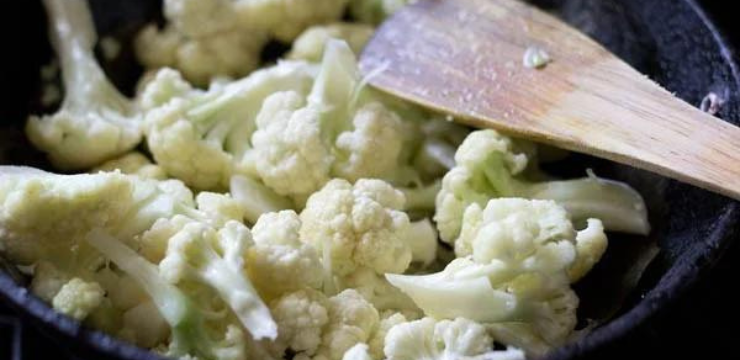
Then, remove the sautéed cauliflower florets on a plate and keep them aside.
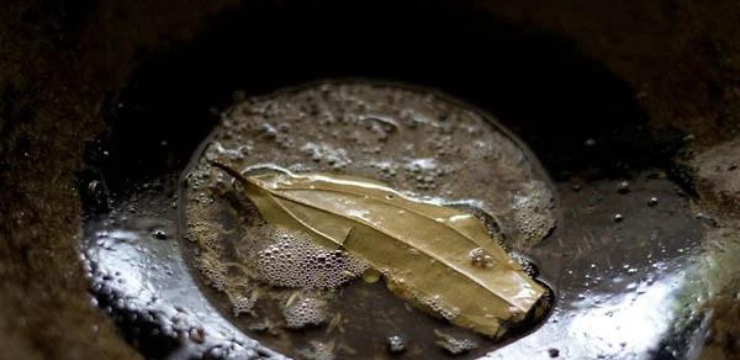
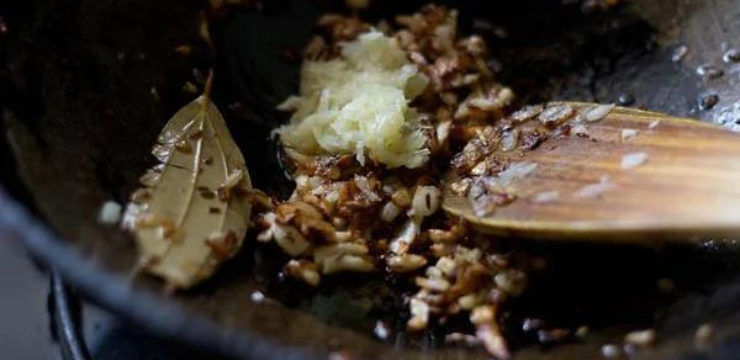
In the same pan or kadai, add 2 tablespoons of oil. Add 1 tej patta and ½ teaspoon of caraway seeds (shahi jeera). Fry for a few seconds on low heat or till the oil becomes aromatic.
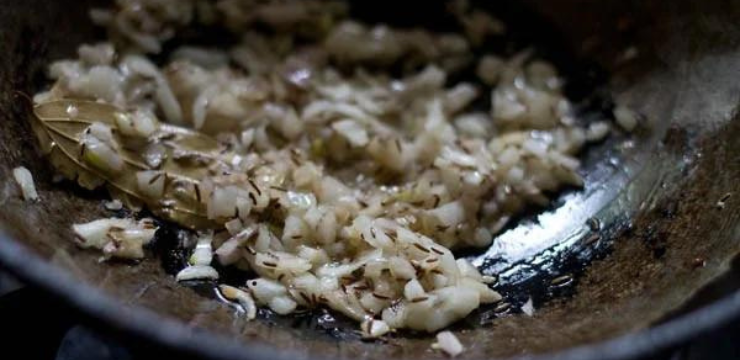
Add 1 medium size finely chopped onions (about 1/3 cup).
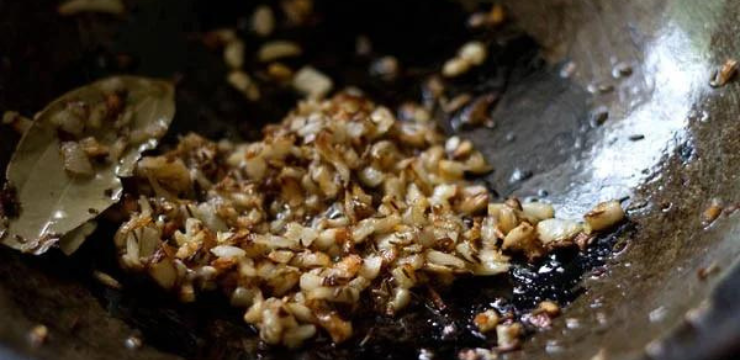
Sauté stirring often on low to medium heat till the onions turn golden and are caramelized. Make sure the onions don’t get burnt, as then the curry will have a bitter taste.
Then, add 1 teaspoon ginger-garlic paste and sauté on low heat for a few seconds till the raw aroma of ginger-garlic goes away.
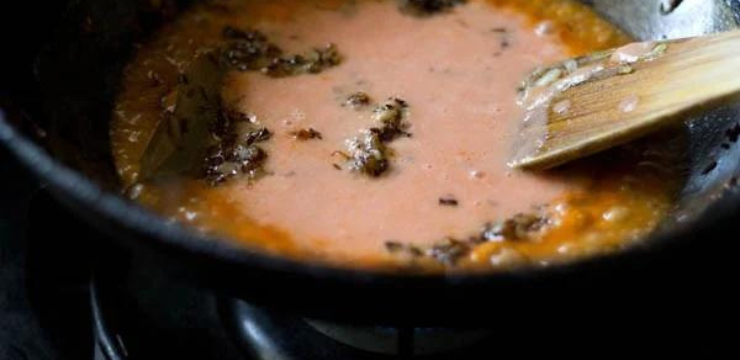
Add the prepared tomato-cashew paste and stir to mix to get an even mixture.
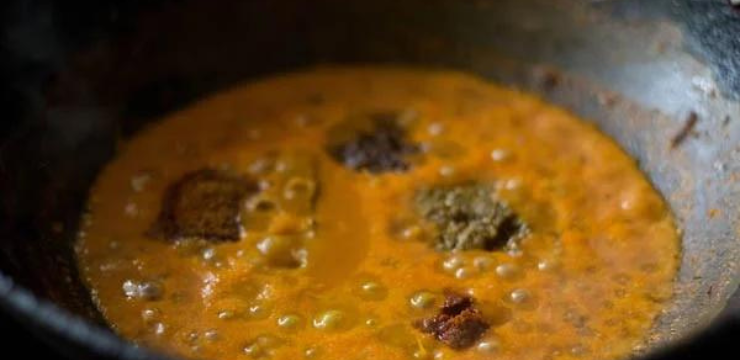
Add the following spice powders:
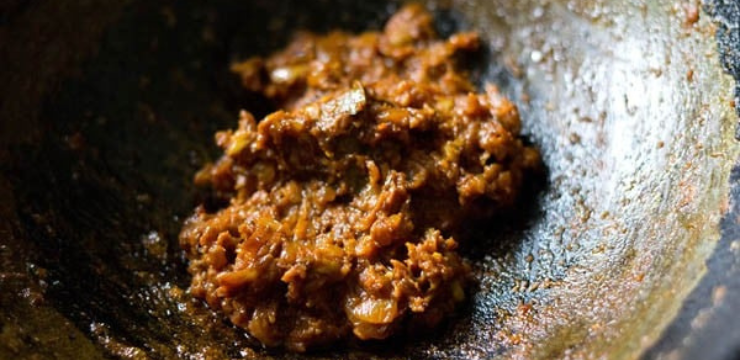
Sauté, stirring often, till the oil starts to leave the sides of the masala. The whole masala paste will clump together and you will clearly see the oil leaving the sides.
This is an important step as if not done properly, the flavors don’t come through in the dish. Takes approximately 12 to 14 minutes on low heat.
Switch off the heat and add 3 to 4 tablespoons full fat whisked yogurt (curd). Make sure the curd you use is fresh and not sour.
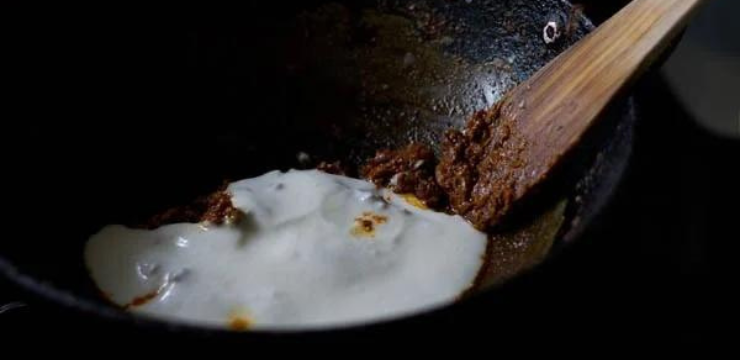
Immediately stir and mix very well. Then add 1 to 1.5 cups water. Add water as required.
Here I get cauliflower which takes more time to cook. Thus, I added more water. If the cauliflower takes less time to cook, add less water.
If you have sauteed the cauliflower more than what is mentioned in the above steps, then also you will have to add less water as the cauliflower will be already cooked.
So, just add enough water as needed to get a medium consistency gravy, then add the cauliflower and simmer for a minute.
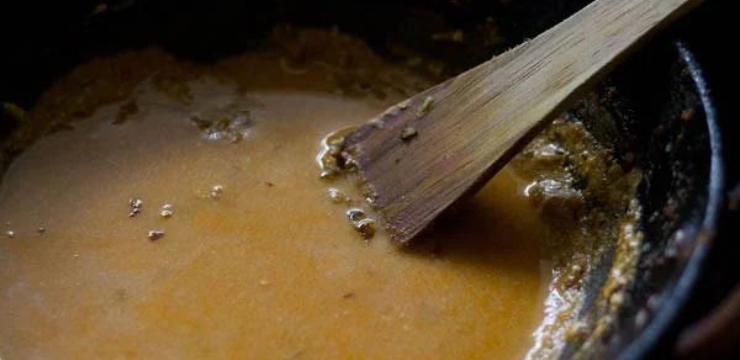
Stir again and keep the kadai or pan on the stovetop again. Now, add the sautéed cauliflower florets and salt as required.
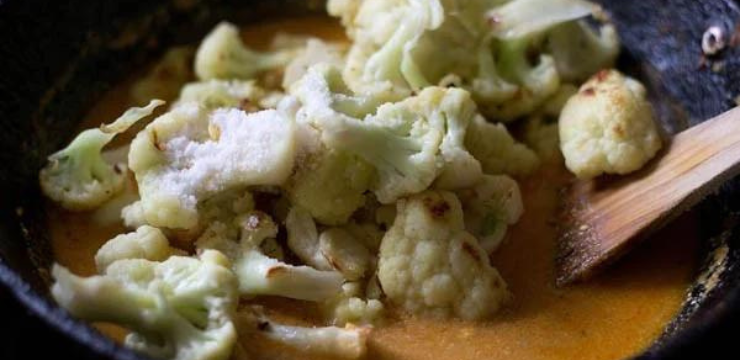
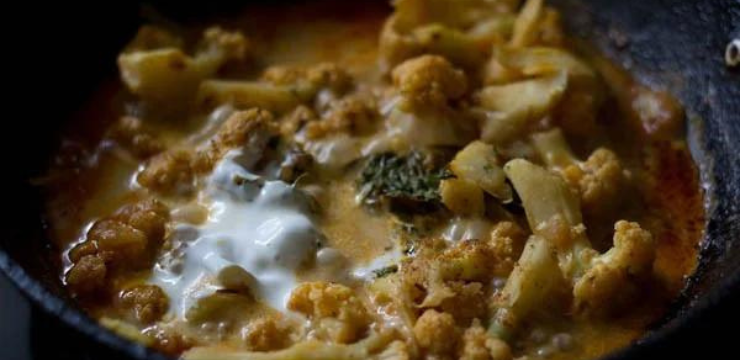
Stir and cover the kadai or pan with a tight lid. In the photo below I have not covered the pan with the lid as I wanted to show the consistency of the curry.

Cook Gobi Masala on low to medium heat for about 10 to 15 minutes or till the florets are cooked completely and are fork tender. But don’t make them mushy.
The cooking time for the cauliflower will depend upon its quality.
Keep checking at intervals. If the water dries up, then you can always add some more water.
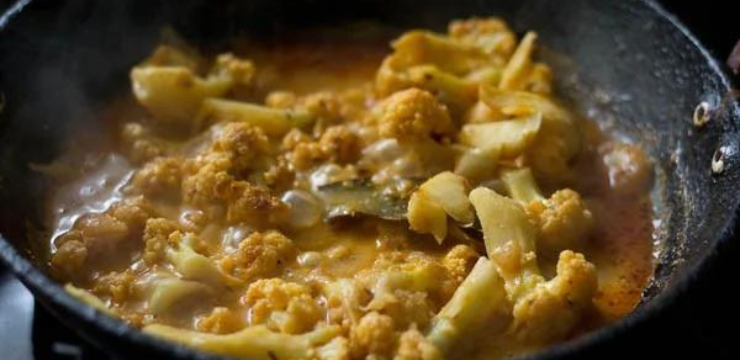
Lastly, add ½ teaspoon crushed dried fenugreek leaves (kasuri methi), 2 tablespoons low fat cream or 1 tablespoon heavy cream and a pinch of nutmeg powder. Stir the curry.
If you don’t have kasuri methi then skip adding them.
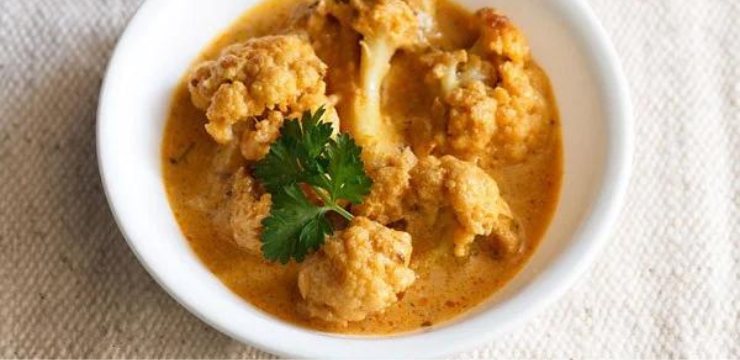
Serve Gobi Masala hot or warm with phulka or paratha or tandoori roti or naan or rumali roti . In the picture below, I have served the Cauliflower Masala with paratha and a vegetable raita.
It can also be paired with jeera rice, ghee rice or plain steamed basmati rice.
Blanch the cauliflower in hot water before using it in this recipe. Helps to get rid of the hidden worms or insects in it, if any.
It is best to use full fat fresh yogurt (curd) or yogurt made with whole milk in this recipe, or else it will end up curdled while getting cooked. You can also skip the yogurt, if you want. The curd should not be very sour.
While sautéing the onions, ensure to not burn them as then you will end up with a bitter tasting curry.
You have to sauté the masala very well, till you see oil leaving the sides. A good 12 to 15 minutes on low heat. If you don’t do this properly, then the flavors will not come through in this preparation.
Add water accordingly to cook the cauliflower. If it takes less time to cook, then add less water. If you have sauteed the gobi more than what is mentioned in the recipe, then also add less water as it will be already cooked.
If you don’t have the nutmeg powder, then skip adding it. But according to me, kasuri methi and cream are essentials in this gravy for that specific restaurant feel in the dish.
Use fresh and firm cauliflower as it is the star ingredient in the recipe.
Looking to boost your day with a burst of freshness and nutrients? Try this invigorating Green Juice recipe! Packed with vibrant green vegetables and fruits, it's the perfect way to kickstart your morning or rejuvenate your energy levels any time of day.
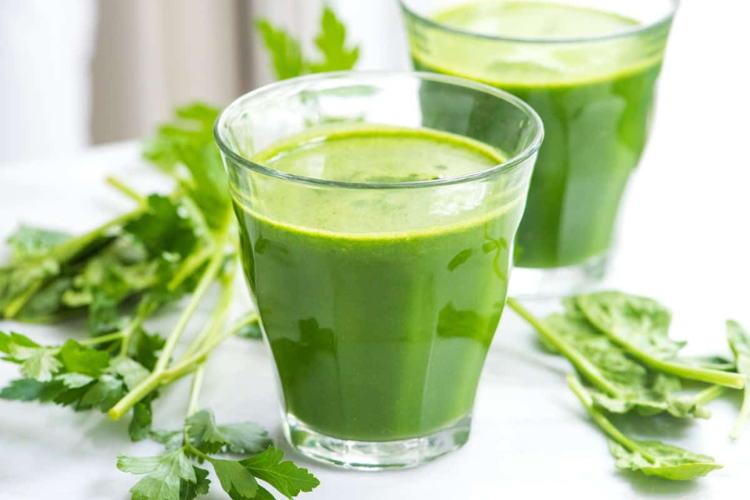
Ingredients in green juice
You can make this green juice in a blender: it’s easy to make and comes together quickly. Here are the main steps to the blender version:
You can make this green juice in a blender: it’s easy to make and comes together quickly. Here are the main steps to the blender version:
You can also make this green juice recipe with a standard juicer! Simply pass all the produce through the juicer, and omit the ice and water in the recipe below. Then chill the juice until it’s fully cold before serving.